Design Confidential: Ep. 3
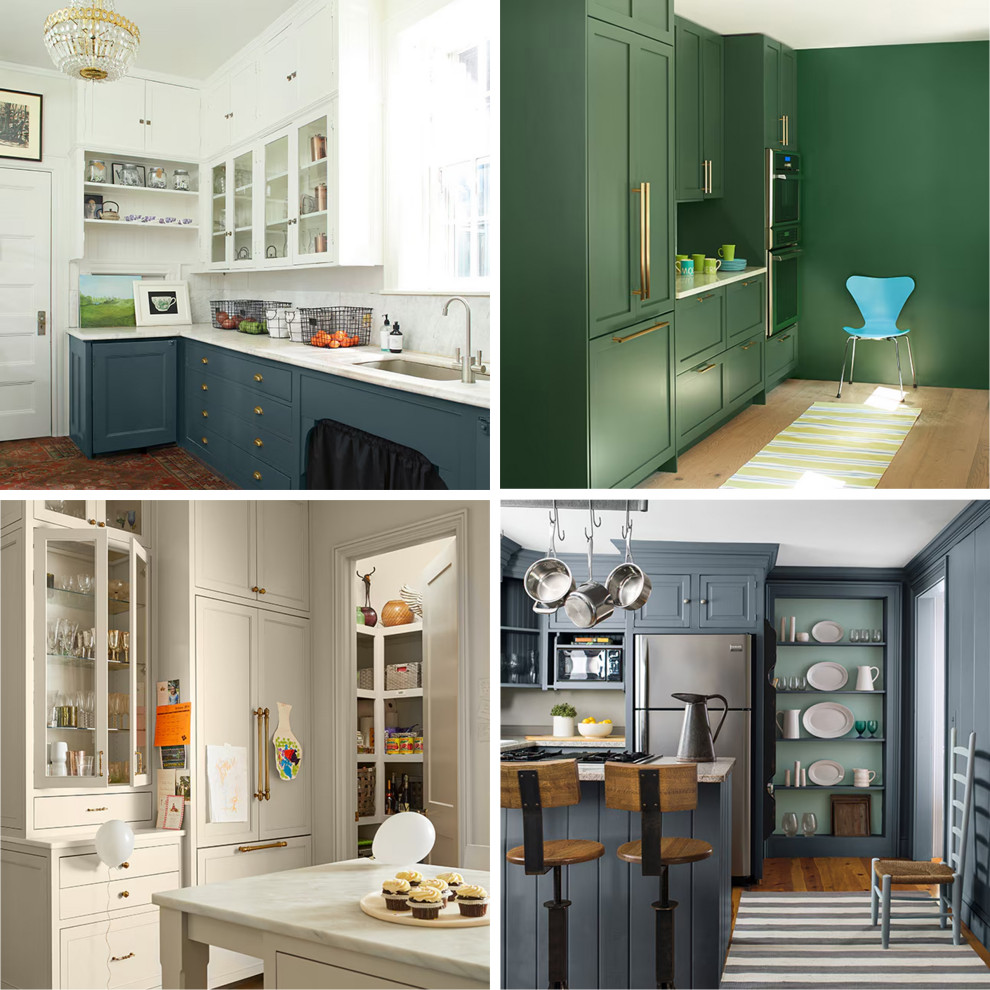
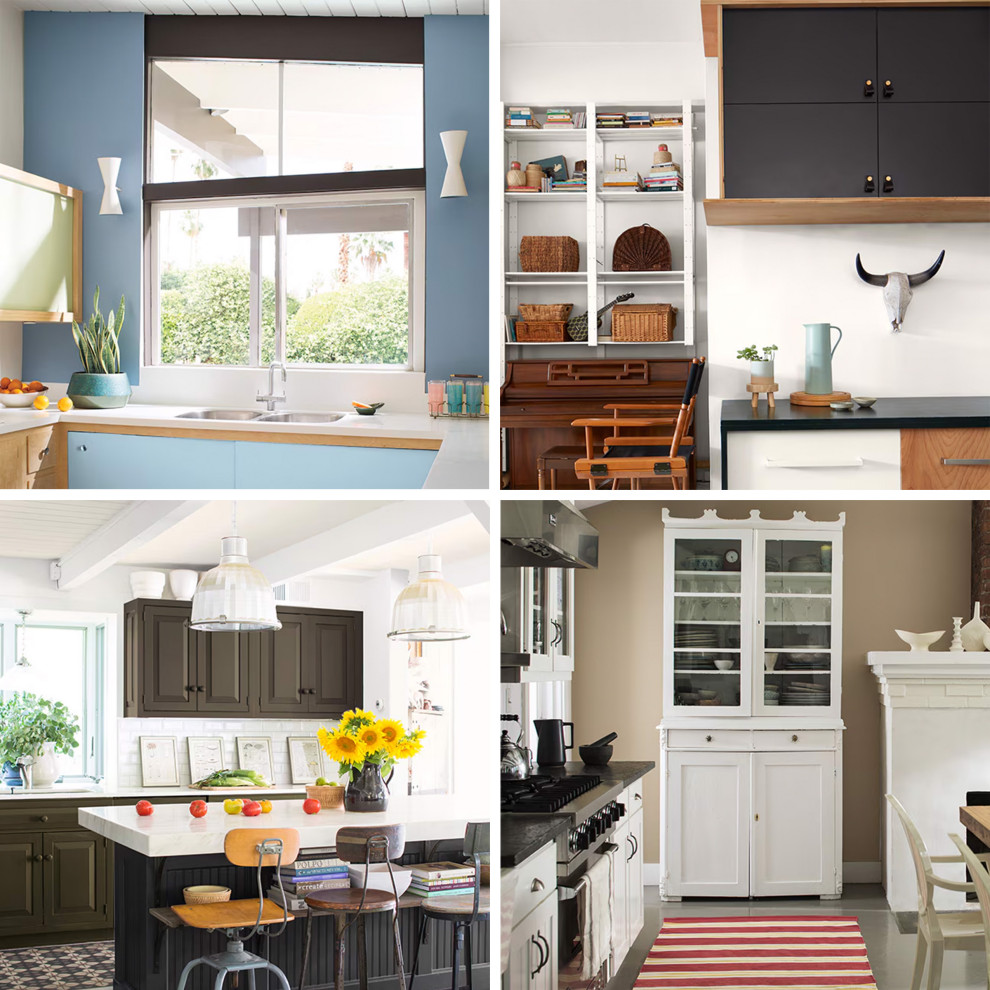
* All images are from the Benjamin Moore blog on their website.
A Kitchen Facelift Without Going Under the Knife
One of my many pandemic projects (seriously, was anyone not tackling random home projects during Covid?) was our kitchen. I wasn’t exactly keen on inviting a crew of strangers into my apartment, and I definitely wasn’t ready to drop a small fortune on a full renovation—especially with bigger plans in the pipeline. So, I took matters into my own hands and went full DIY, with a little help (and moral support) from my husband. The good news? You don’t need a total kitchen overhaul to make a big impact. With a bit of creativity and some smart updates, you can give your space a fresh new look without breaking the bank! Here are a few tips and tricks to get you started:
#1. Cabinet Painting: Painting your cabinets is one of the easiest kitchen upgrades. Light colors can brighten the space, while bold hues or two-tone designs add a Pinterest worthy pop. But remember, quality matters—invest in good supplies and choose a durable, cabinet-friendly paint. And if you want a professional finish, no shortcuts and don’t skip the prep—trust me! I always recommend Benjamin Moore for materials. Their wide range of colors and shades makes it easy to find the perfect match for your style and space, ensuring your vision truly shines. Ready to dive in? Here’s your complete guide to painting kitchen cabinets like a pro. * Not planning to paint? Skip ahead to #2.
a. Gather Your Supplies:
. High-quality paint, satin or semi-gloss works best.
. Primer, oil-based or water-based.
. Sandpaper, 120-grit to start, 220-grit for the finish.
. Brushes and rollers, fine bristle for the nooks and foam roller for the rest.
. Painter’s tape, to keep things neat.
. Drop cloths, because you don’t want a kitchen floor splattered with “Oops!”
. Screwdriver, to remove the hardware.
. Clean rags, for wiping down all that dust.
b. Prep Your Space: Clear the area, empty your countertops and cabinets. Ventilation is key. Open windows, turn on fans and avoid painting in a sauna. Keep the temp between 70°F and 85°F for happy, drying paint.
c. Remove Hardware and Doors: Don’t just paint around the knobs and hope no one notices. Remove all the cabinet hardware (handles, knobs, hinges) and, if you can, take off the doors. Trust me, this will make your life much easier.
d. Clean the Cabinets: Grab your favorite degreaser or mild soap and give those cabinets a good scrub. It’s amazing how much gunk can hide on surfaces that look clean. Rinse and let them dry completely before moving on. First, clean thoroughly (yes, even that sticky mystery grease), sand any rough spots, and definitely use primer.
e. Sand the Surfaces: Time to smooth things out. Start with 120-grit sandpaper to rough up the surface, giving the paint something to stick to. Focus on areas with a glossy finish. Follow up with 220-grit sandpaper for a buttery-smooth surface. Don’t forget to wipe down with a damp cloth after sanding to get rid of dust.
f. Prime the Cabinets: Get your cabinets ready for their glow-up by applying a coat of primer. Use a brush for the details and a roller for the flat areas. Let it dry according to the instructions on the can. This step will prevent stains from popping up later.
g. Sand Again: Yep, we’re sanding again, but this time lightly with 220-grit sandpaper. It’ll help smooth out imperfections. Give the surface a quick wipe down to remove any dust.
h. Paint the Cabinets: Now, the fun part! Using your brush and roller, apply the first coat of paint. Start with the edges and corners, then move on to the flat surfaces. Once the first coat dries, apply a second (or even a third for extra coverage). Remember, patience is key—don’t rush the drying times between coats. Your future self (and your cabinets) will appreciate it.
i. Reattach Hardware and Doors: After the paint has dried (and I mean fully dried) reattach the hardware. If you’ve bought new knobs and pulls, now’s the time to make sure everything aligns perfectly. Reinstall the cabinet doors, making sure they hang straight and open smoothly.
j. Final Touches: Check for any spots that need touching up or areas where you got a little overexcited with the paint. Allow the paint to cure fully before you start refilling your cabinets—this could take a few days, so hold off on reloading the spice rack!
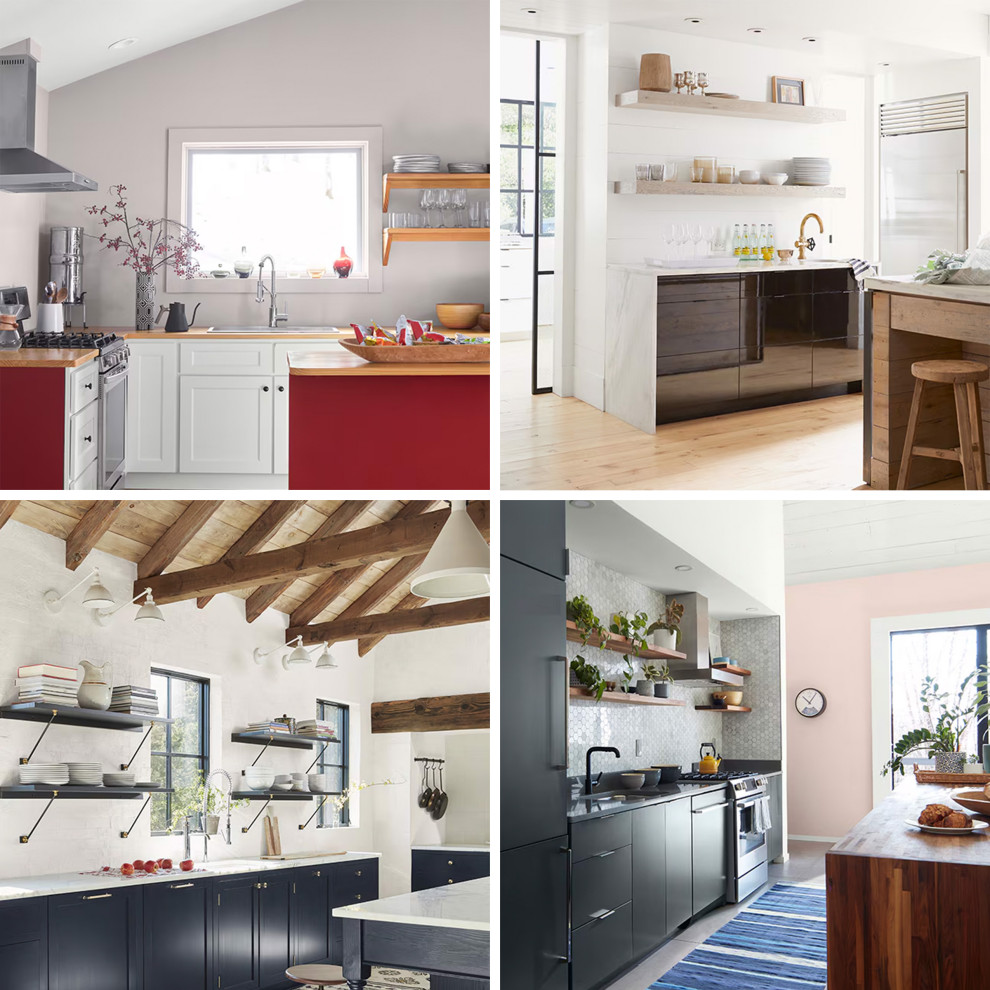
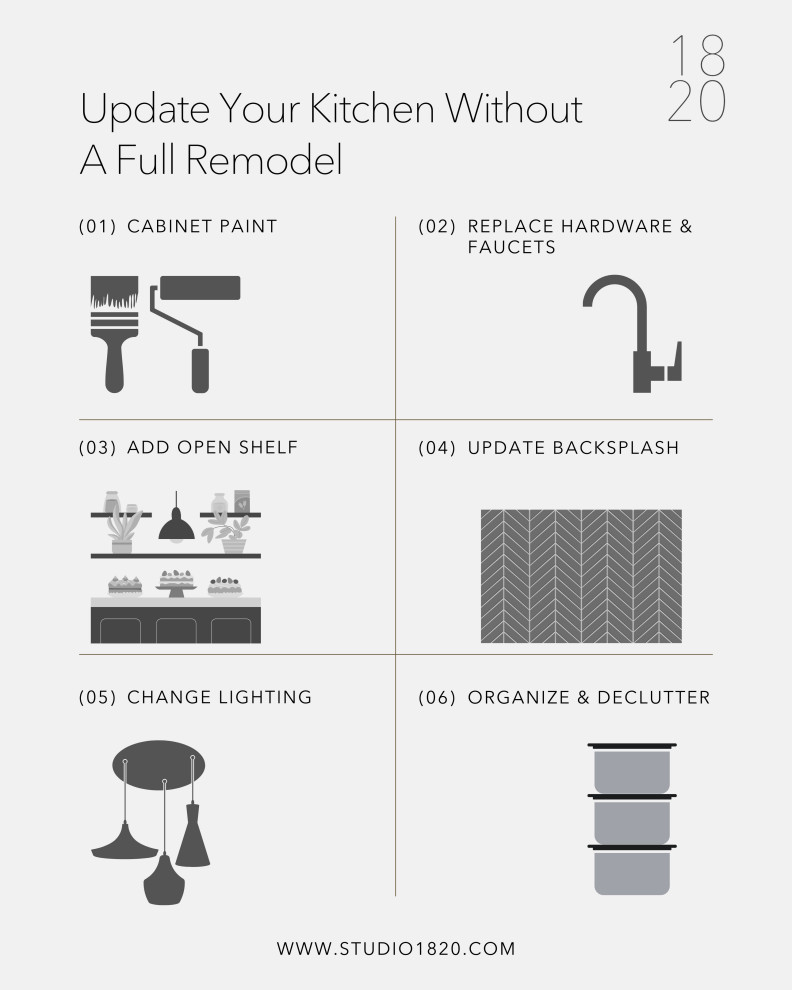
#2. Replace Cabinet Hardware and Faucets: Switching out knobs, handles, pulls and faucets can give your kitchen an instant facelift. Choose finishes like matte black, brushed brass or nickel to add sophistication. This simple change offers a lot of impact without major renovations. Even a small hardware update can feel like a major transformation.
#3. Incorporate Open Shelving: Adding open shelves can create an airy feel, perfect for displaying beautiful dish-ware. It’s a great way to modernize the kitchen and add personality. If you’re hesitant about full open shelving, simply adding a few floating shelves can complement your existing cabinets beautifully.
#4. Update the Backsplash: A new backsplash is a quick, high-impact update that doesn’t require a full kitchen remodel.Materials like peel-and-stick tiles or vinyl offer affordable options that transform the space while keeping costs low. Consider designs that reflect your style—subway tiles for a classic look or patterned tiles for a bold statement. You can also choose to simply paint the wall with moisture-resistant washable paint. You will then have to make sure you prep the area properly for painting.
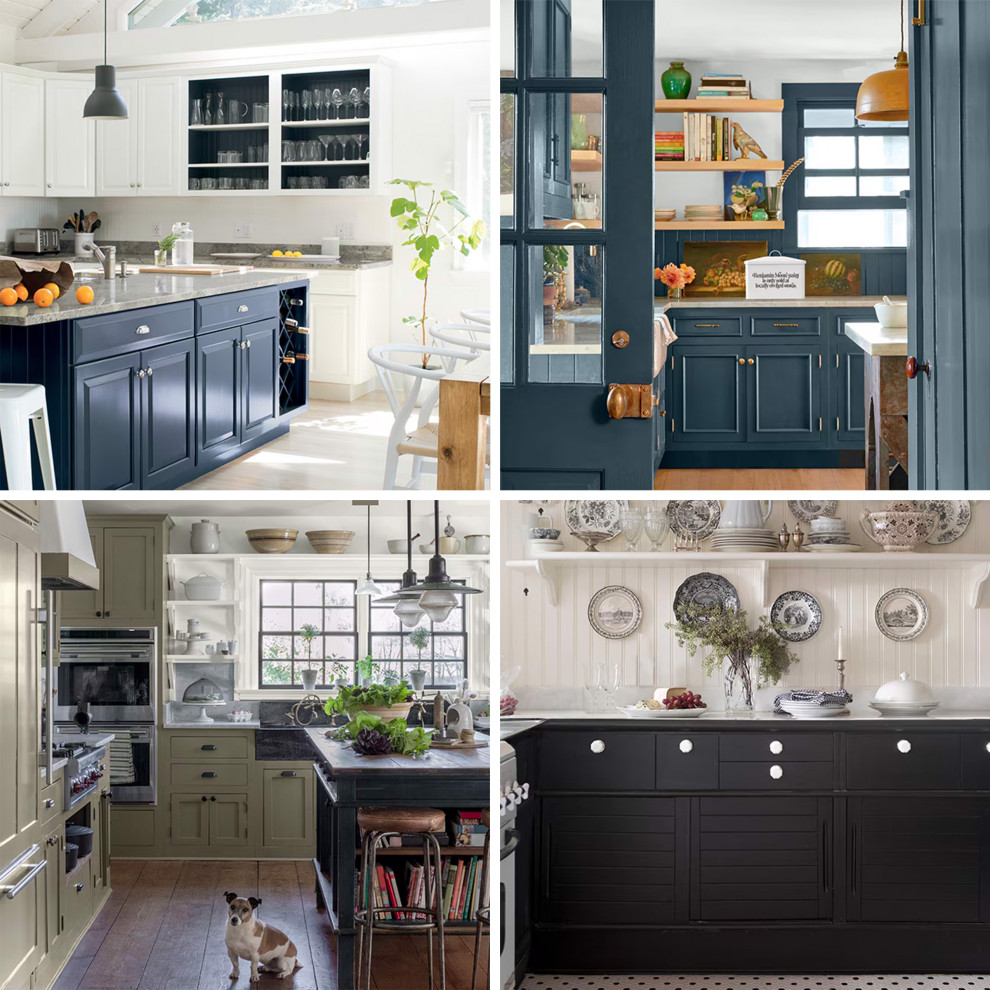
#5. Lighting Enhancements: Improving kitchen lighting can make a significant difference. Swap outdated fixtures for trendy pendant lights or install under-cabinet LED lighting to brighten your workspace. This not only enhances functionality but also adds ambiance, creating a welcoming atmosphere.
#6. Organize and Declutter: A clutter-free kitchen instantly feels refreshed. Consider adding drawer organizers, pull-out shelves, and custom storage solutions to maximize space. Matching containers for frequently used items not only improve function but also contribute to a streamlined aesthetic.
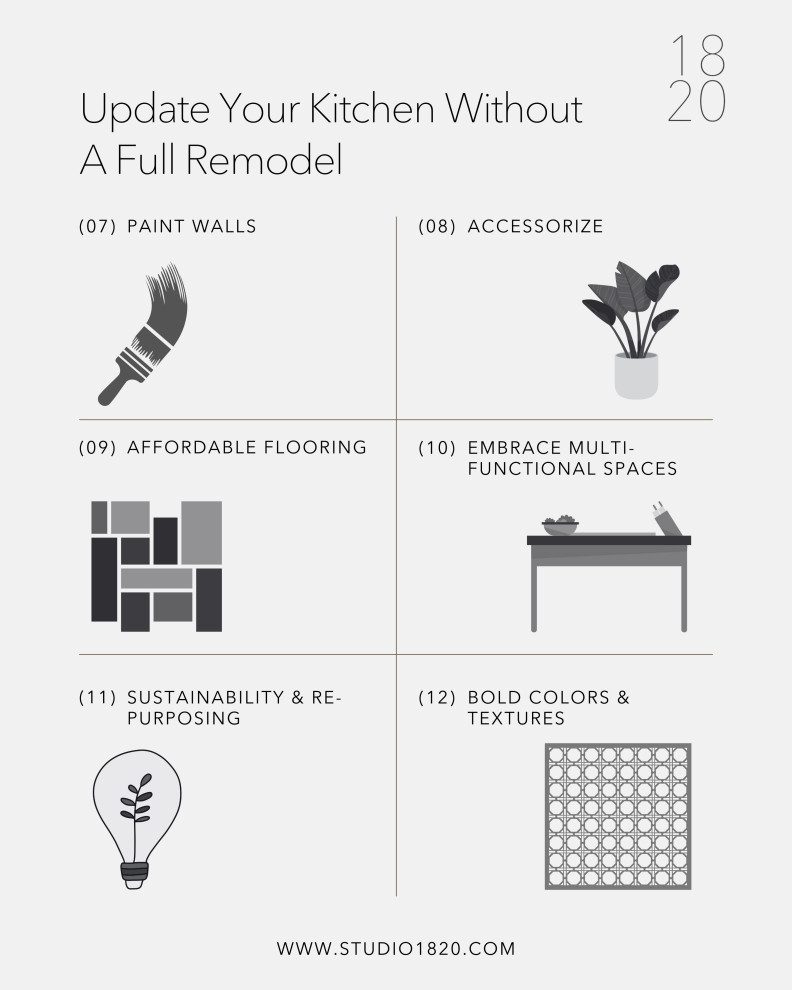
#7. Add a Fresh Coat to the Walls: Repainting your walls can dramatically update the kitchen without touching the cabinets. Choose a complementary color for a cohesive look or go bold with a contrasting hue that draws attention to your cabinetry. Soft neutrals can create a calm vibe, while vibrant colors add energy.
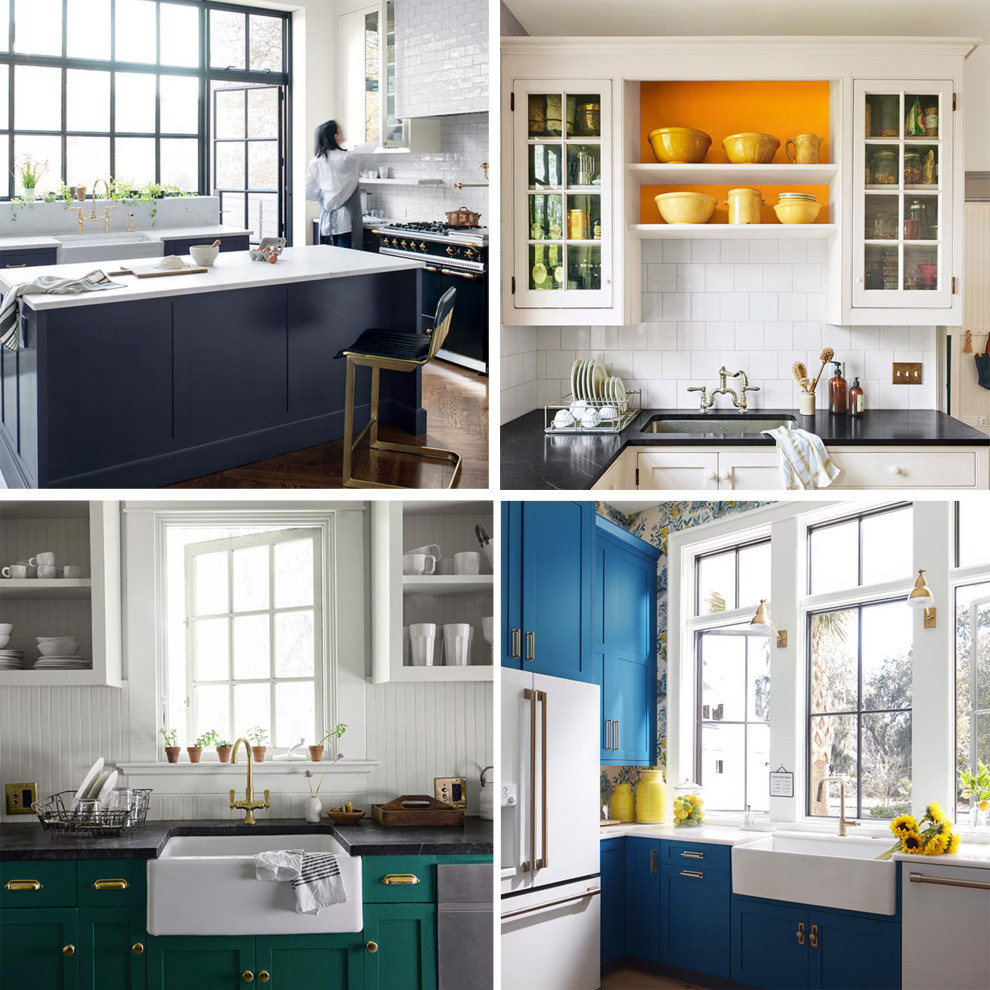
#8. Accessorize Thoughtfully: Small details, such as a stylish runner or matching countertop accessories can tie your kitchen’s look together. Invest in simple, elegant pieces to elevate the overall design. It’s the finishing touches that can make a space feel complete and cohesive.
#9. Affordable Flooring Options: If your floors are looking a little tired, don’t stress—there are budget-friendly ways to refresh them! Try vinyl tiles or DIY hardwood refinishing kits to give your kitchen a new vibe without ripping everything up. You could also consider tiling over your existing wood floor for a quicker fix. It’s stylish, durable, and easier on the wallet. Just check with a pro to make sure any height differences are sorted out before diving in.
#10. Embrace Multi-Functional Spaces: Creating multi-functional spaces in kitchens is a growing trend. Consider incorporating a small breakfast nook or a pull-out working table to maximize utility without sacrificing style. These spaces encourage gatherings and add charm to your kitchen.
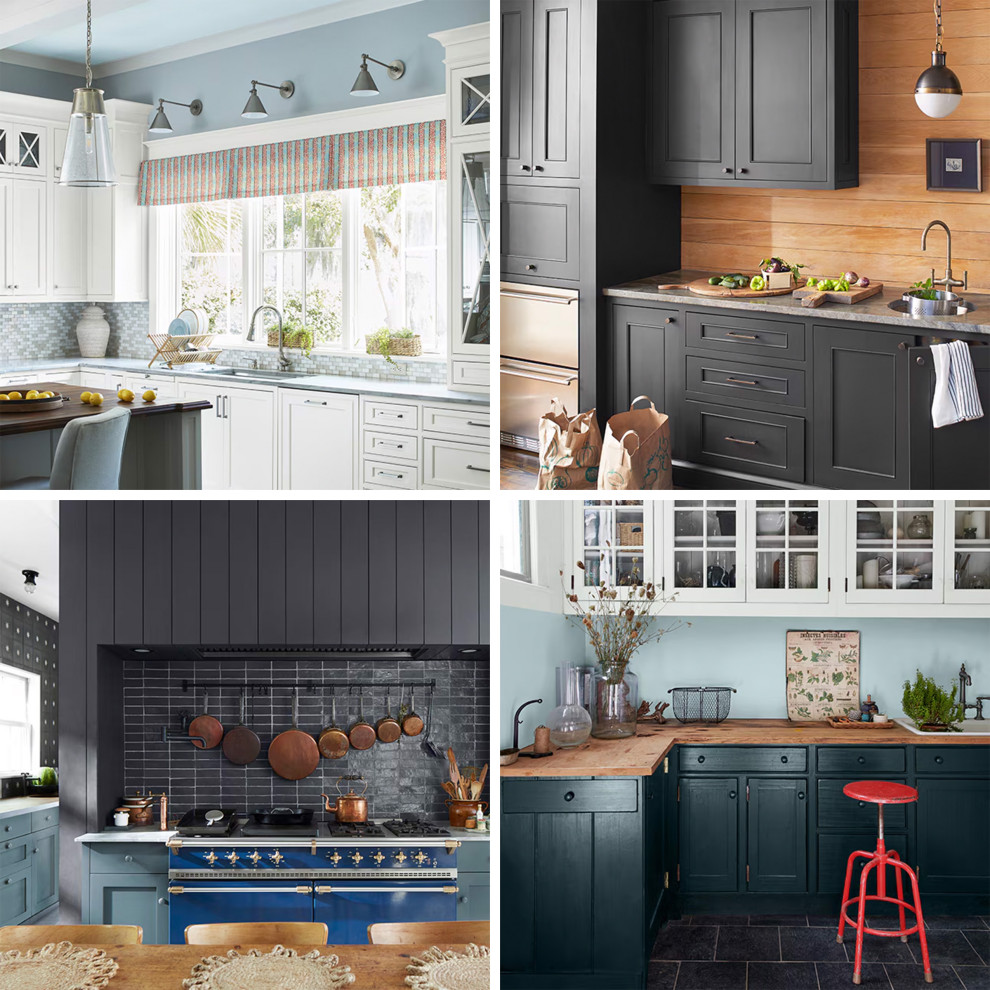
#11. Sustainability: 2024 is all about going green! Opt for eco-friendly materials like reclaimed wood, recycled countertops or upcycled cabinets. Not only do these choices help the planet, but they also add unique character to your kitchen and can save you some cash. Try adding a green wall or an herb garden by the window for a fresh, natural touch that’s good for your space and your meals!
#12. Bold Colors and Textures: Kitchens are stepping into bold territory this year with deep greens, navy blues, and rich terracotta shades. Adding texture is just as important think rattan furniture or modern wallpaper to give your kitchen that trendy, forward thinking vibe. You can also use trendy paneling and wood slats for interesting textured surfaces. It’s all about creating depth and personality!

Ready to give your kitchen the facelift it deserves? With these clever renovation updates, you can renew your space without the hassle and expense of a full remodel. Embrace the latest trends, think outside the box and most importantly, enjoy the process! Your dream kitchen is just a few easy updates away. Feeling overwhelmed and need a hand? Don’t hesitate to reach out and start the conversation—especially if you're planning a full kitchen renovation. That’s when you’ll definitely want the pros on your side!
#KitchenMakeover #KitchenRemodel #HomeRenovationHacks #DesignTips #kitchendecor #interiordesign #kitchendesign #kitchenrenovation #homeimprovement #renovationproject
